
Curtain Wall Installation Process: Site Methods & Sequence
A curtain wall is only as good as its installation. Survey errors, sequence mistakes and field sealing shortcuts show up as leaks, racked panels and rework years after handover. This guide walks the full installation process for unitized and stick-built systems — from site survey and engineering to factory fabrication, logistics, erection, waterproofing and field testing — and marks the quality gates at every step.
Published 9 October 2026 — Hanart Facade Engineering Team
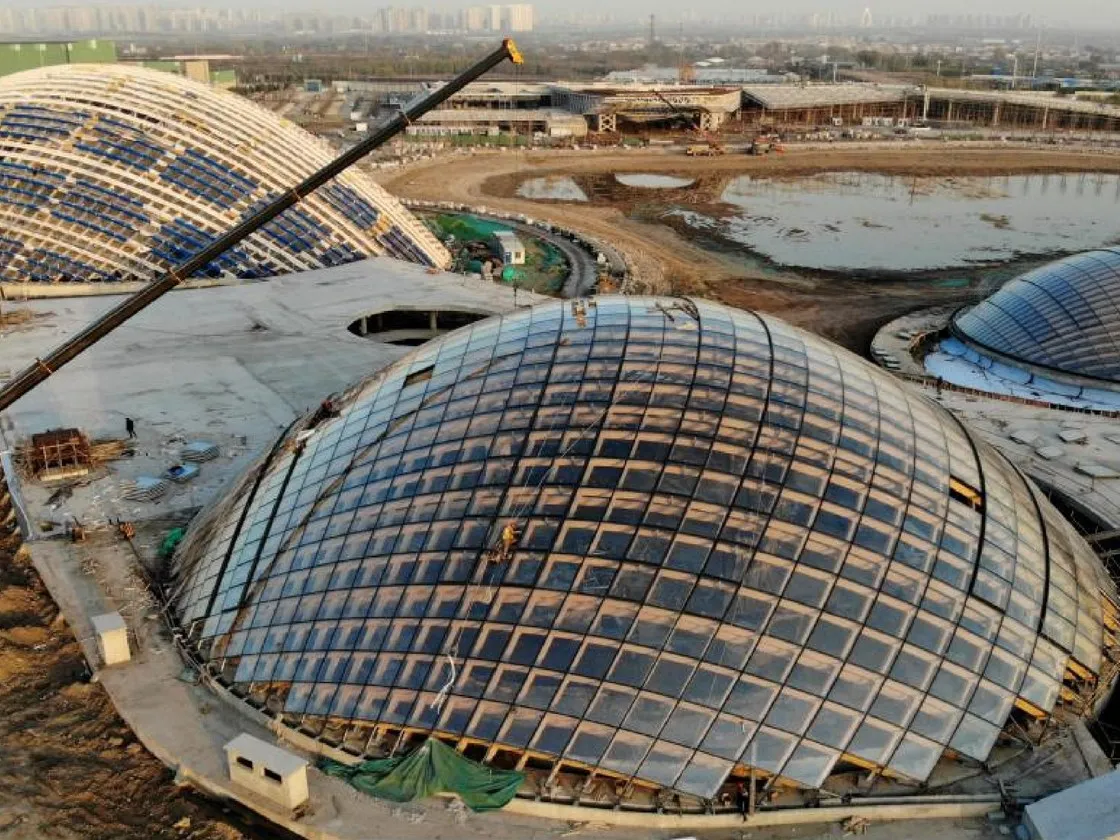
Unitized panels arrive factory-glazed and weather-tested; the site job is positioning, fixing and sealing the joints between them.
Stage 1: Site Survey & Engineering Release
Unitized panels arrive factory-glazed and weather-tested; the site job is positioning, fixing and sealing the joints between them.
Installation starts before a single panel is fabricated — with a dimensional survey. The building frame is never exactly as drawn: column positions, floor levels, slab edges and anchorage zones all carry construction tolerances that the facade must absorb. A proper survey measures the actual structural envelope at every floor, compares it to the architectural grid, and feeds the deviations into the shop drawing and bracket design. Hanart issues a survey report with grid-by-grid deviation data before production release, so bracket lengths and panel joints are sized for the real building.
Engineering release is the second gate: shop drawings, structural calculations, thermal analysis and the performance test plan must all be approved before fabrication begins. For a unitized project this includes the design of lifting eyes, panel stack storage and the sequence of modules per crane position. For stick-built it includes the mullion splices, setting-out marks and the erection sequence for the grid.
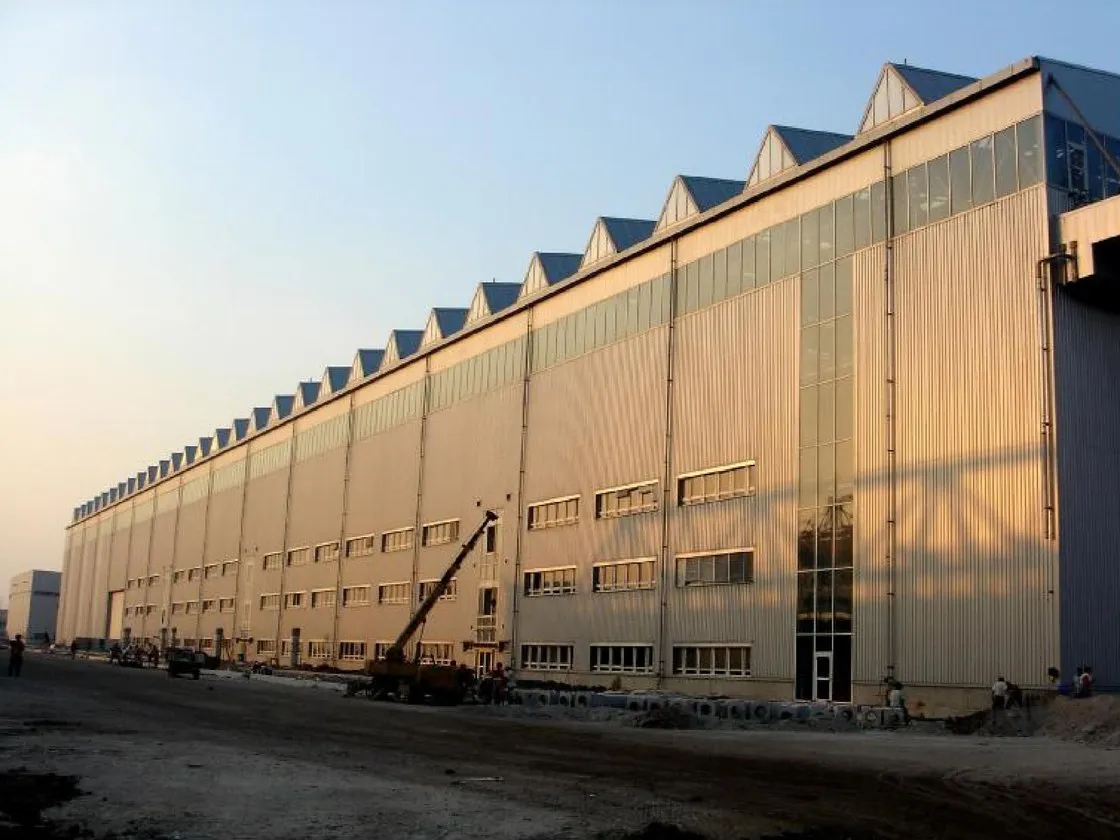
The factory assembly line is the quality heart of unitized installation — glazing and sealing happen under controlled conditions, not in the weather.
Stage 2: Factory Fabrication & Pre-Assembly
The factory assembly line is the quality heart of unitized installation — glazing and sealing happen under controlled conditions, not in the weather.
Factory work converts profiles, glass and gaskets into panels or component kits. On a unitized line, each panel is framed, glazed, gasket-sealed, pressure-plate fixed and inspected end-to-end under controlled temperature and humidity, then passed through a 100% water-spray test before dispatch. Hanart's own fabrication plant machines profiles on five-axis CNC centres holding joint tolerance to ±0.5 mm, which is what allows site assembly to proceed without force-fitting. For a deep look at the plant, see in-house fabrication.
Quality gates at this stage: incoming material verification (alloy certificate, glass certificate, sealant batch), in-process dimensional checks, adhesion verification of structural silicone batches, and the final pre-dispatch water test. Every panel is tagged with a unique ID linking it to its fabrication batch and QC record — the audit trail that international owners increasingly demand.
Stage 3: Logistics & Site Storage
Panels and glass travel long distances, and how they travel decides whether they arrive installable. Unitized panels are shipped in stillages or A-frames with protective interleaving, sealed against moisture ingress, and braced for the transport loads that are higher than the building loads they will later resist.
On site, storage must be dry, level and sequenced. Panels are stored in the order of erection, off the ground on dunnage, protected from dust and accidental damage, and never double-stacked beyond the rated capacity. For stick-built projects, glass is stored upright on padded A-frames, sealed cartridges are kept in conditioned storage, and profiles are racked to avoid scratching. A storage audit is part of Hanart's pre-installation checklist on every project — rejecting or re-handling damaged units before they reach the hoist saves both schedule and money.
Stage 4: Unitized Erection Sequence
Unitized erection is a repeating five-step cycle. First, set out and fix the brackets and setting plates to the structural edge, aligning them vertically to ±2–3 mm per floor and checking against the survey grid. Second, hoist the panel with a spreader bar through the designed lifting points, rigged so the panel hangs level. Third, land the panel on the lower panel's interlocking sill, engage the vertical interlock, and temporarily hold it with clamps while alignment is checked with a total station or laser. Fourth, bolt the panel through its anchorage and torque to specification. Fifth, seal the inter-panel vertical joint — gaskets where the system is dry-jointed, wet sealant where designed — and protect the joint until it cures.
Sequence discipline matters more than speed: panels must be erected in the order that allows crane access without re-handling, and interlocking joints must not be forced. A common defect on poorly managed sites is panels strained during landing, which compresses the gasket and produces a leak that appears only in the first storm. Hanart's site engineers hold the erection sequence in the shop drawings and enforce a pre-hoist condition check on every panel.
Stage 5: Stick-Built Erection Sequence
Stick-built installation follows the grid logic: set out and install the primary mullions floor by floor, plumb and brace them; install transoms and splice joints; then glaze from inside or with external glazing frames; and finally install pressure plates, gaskets and wet seals.
Mullion setting-out is the critical step — a 3 mm error in mullion plumbness multiplies through the glass sizes above, and cannot be corrected once glazing begins. On tall stick-built facades, mullions are spliced with expansion sleeves designed to absorb thermal movement, and the splice location is a designed detail, not an afterthought. Glazing then proceeds in bays, with setting blocks placed to equalize bearing, and the glazing rebate kept clean and dry for the sealant application.
Because so much of stick-built quality depends on site weather, Hanart plans wet sealing windows around forecast conditions, protects fresh sealant from rain and dust, and verifies sealant adhesion with a field test strip before production sealing begins. The unitized vs stick-built guide quantifies the schedule and weather implications of each route.
Stage 6: Waterproofing, Sealing & Cleaning
Waterproofing is where facades either earn their class or fail it. The principles are consistent across both erection methods: a pressure-equalised interior chamber, a drained and weeped system, and continuous gasket lines. Wet sealants are the last line of defence and the first component to achieve their rated performance only when applied correctly: joint surfaces clean and dry, backer rod compressed to the right depth, sealant tooled to the correct profile, and cure time respected before water testing or wind load.
After sealing, the facade receives a controlled wash to remove construction dust, sealant smears and protective films before final inspection — the cleaning stage is also the moment the contractor checks every joint, weephole and gasket visually, because it is the last cheap opportunity to fix a defect. Panel protection is then re-applied or scheduled for removal at handover.
Stage 7: Field Testing & Handover Documentation
Field testing confirms the as-built facade performs to the tested class. Water penetration is verified in situ with a field water test (AAMA 501.1 or the project-specified equivalent) on representative joints and interfaces; air leakage and structural checks follow where required by the specification. Test results, as-built drawings, material certificates and maintenance instructions are bundled into a handover package that the owner's facility team keeps for the service life of the facade.
The complete testing methodology is covered in the performance testing explainer, and the acceptance criteria in the quality inspection & acceptance guide. Hanart also issues a maintenance schedule at handover, typically aligned with the 10–15 year renewal cycle of gaskets and wet seals documented in curtain wall maintenance.
Plan an Installation That Actually Delivers
Hanart engineers, fabricates and installs facades under one contract — survey to handover, with every quality gate documented. Email bob@hanartfacade.com or call +86-21-5106 1751.
Frequently Asked Questions
How long does curtain wall installation take?
A unitized system with one crane typically erects 200–400 m² per day, so a 10,000 m² tower envelope takes 4–8 weeks of erection plus sealing and testing. Stick-built is roughly 2–3 times slower and weather-dependent. The schedule is driven by panel count, crane positions and the sealing window.
What happens if site survey shows the structure is out of tolerance?
The survey deviations are fed back into bracket design — bracket extension, shim packs and joint allowances are adjusted before fabrication. Safety-critical deviations are raised with the structural engineer. Ignoring survey data is the most common cause of racked panels and site rework.
Do curtain wall panels get tested before installation?
Unitized panels are 100% water-spray tested in the factory before dispatch. Prototype and mock-up panels are additionally tested to the project performance class at an independent laboratory before mass production, under ASTM E283/E330/E331 or the specified code.
Can installation continue in winter or rain?
Yes, with weather management: temperature-rated sealants and gaskets, heated storage for sealant cartridges, and wet sealing scheduled around forecast conditions. Extreme wind stops hoisting for safety regardless of schedule — which is why factory-sealed unitized panels have a logistical advantage in harsh climates.