
Aluminum Curtain Wall Installation: Site Management, Quality Control & Safety Protocols
From pre-installation survey to final inspection — how Hanart manages aluminum curtain wall site installation across 40+ countries with documented QC and safety compliance. This article covers field measurement, frame handling, unitized versus stick-built sequencing, quality checkpoints, fall-protection protocols, defect prevention, and the logistics of deploying multilingual installation teams on six continents.
- Hanart Engineering Blog
- 8 October 2026
- 6 field photographs
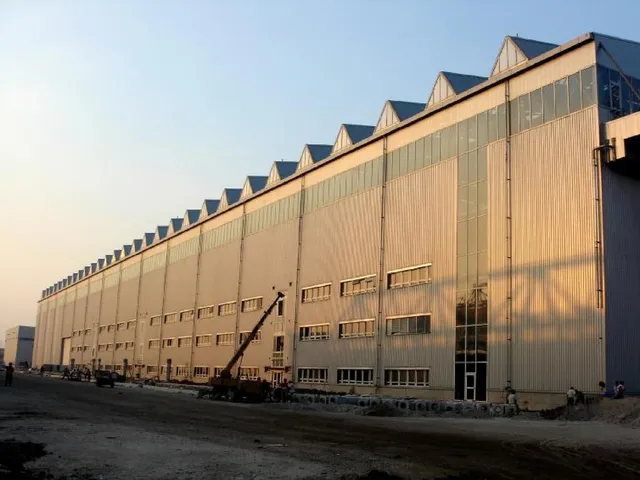
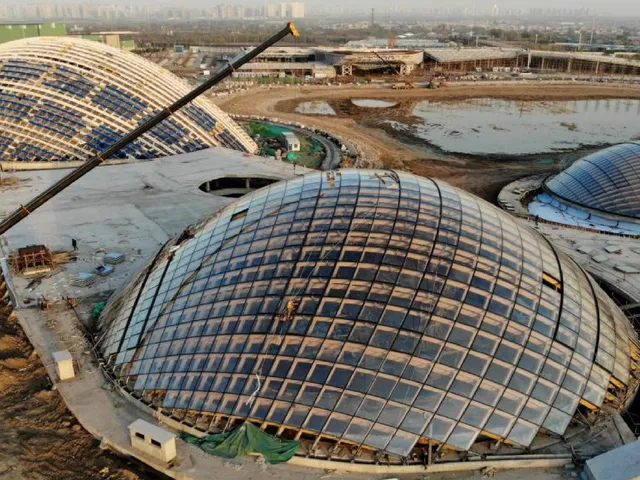
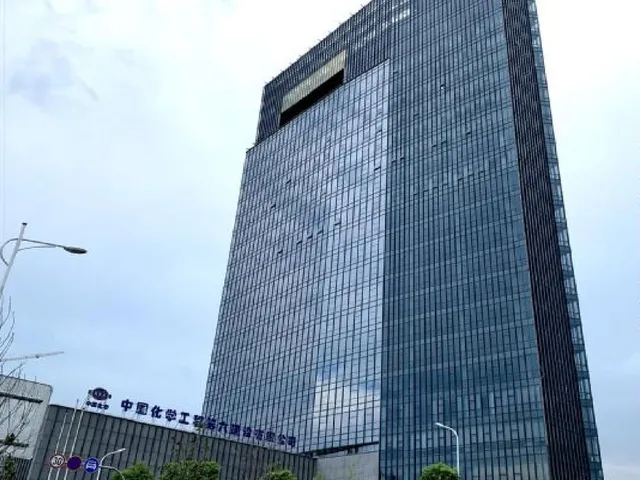
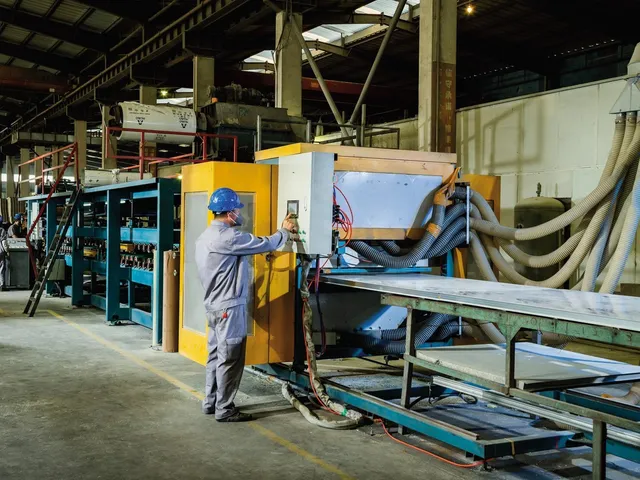
Photographs from the Programme
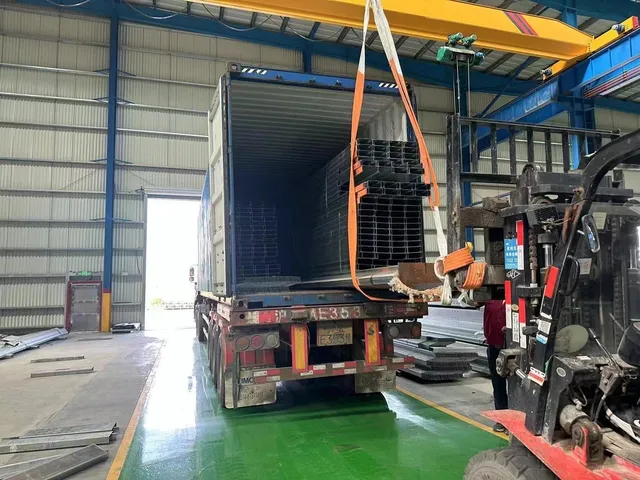
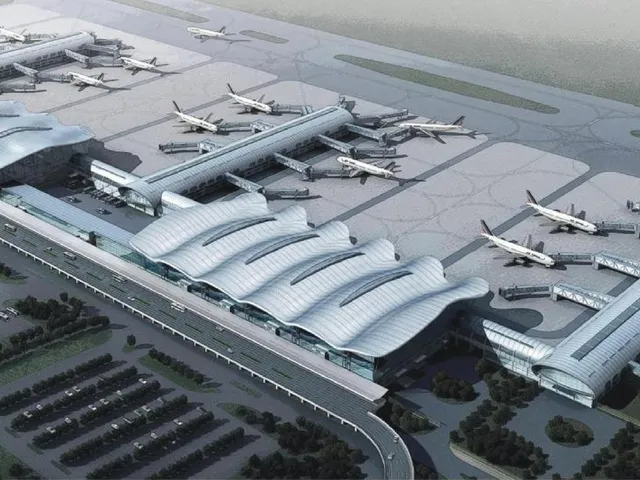
Real Hanart site and factory photography — the discipline described below, seen in the field.
The Engineering View
Pre-Installation Site Survey & Preparation
Before any aluminum panel is lifted, Hanart's installation engineering team executes a three-phase pre-installation survey. Phase one is a dimensional audit: total stations and 3D laser scanners verify the structural frame against approved shop drawings. In cast-in-place concrete superstructures, tolerance accumulation can shift anchor points by 10–30 mm over a 100-metre height. The survey team records every column centreline, floor level, and setback angle, then issues a deviation report with corrected coordinates back to the fabrication team for final panel sizing.
Phase two establishes benchmark line layout. Primary control lines are set at ground level and transferred vertically using precision theodolites with optical plummets. Secondary grid lines at 1.5-metre intervals guide mullion positioning. The team marks embedment positions for cast-in channels and anchor plates, confirming concrete strength (minimum C30) and rebar avoidance with cover meters. Any embedded part showing corrosion, misalignment beyond ±5 mm, or inadequate pull-out resistance is flagged for remedial welding or chemical anchoring before panel arrival.
Aluminum Frame Handling & Storage
Aluminum extrusions arrive on site with a factory-applied PE protective film and VCI paper wrapping. Hanart mandates that film remains intact until the moment of assembly; premature removal exposes anodized or PVDF-coated surfaces to cement splash and abrasion. On-site handling uses nylon slings exclusively—steel wire or chains score the anodized layer (typically 15–25 µm thick for AA25 class) and create galvanic corrosion initiation points that propagate under salt-air exposure.
Storage racks must be horizontal, levelled within 3 mm over 3 metres, and spaced at 1.2-metre centres to prevent mid-span deflection. Maximum stack height for hollow profiles is eight layers; solid pressure plates and cover caps may stack to twelve. Each layer is separated by foam interleaving sheets. The storage area requires a weatherproof canopy with ≥5% roof slope for drainage and ventilation gaps of 200 mm at eaves to prevent condensation pooling on cold nights.
Installation Sequence for Unitized vs Stick-Built
Unitized curtain walls arrive as complete factory-assembled panels—typically 1.2 m × 4.2 m with glazing, gaskets, and sub-frames pre-installed. The installation sequence follows a strictly vertical progression: the panel below must be fully anchored and shimmed before the panel above is hoisted, because upper panels rest on lower panel brackets as part of the gravity-load transfer path. Crane rigging uses a four-point balanced sling with spreader bars to maintain panel flatness during lift; torsional sling imbalance is the leading cause of corner clip damage during hoisting.
Once the panel is within 300 mm of its seat, installers guide it onto brackets, insert stainless steel pins, and release the crane. Temporary fixing uses adjustable wedges at the bracket-to-mullion interface; final levelling is achieved with spirit levels (0.5 mm/m accuracy) and laser plumb lines. Panel-to-panel alignment tolerances are ±2 mm for verticality and ±1.5 mm for inter-panel step. After every fifth floor, a full-plane verification survey checks cumulative drift. Only after survey approval does the crew proceed with inter-panel gasket compression and pressure-cap installation.
Stage by Stage
Talk to an Installation Manager
Discuss your project site conditions, crane logistics, and installation timeline with a Hanart installation manager who has delivered facades on six continents.
Request Installation Support for Your Project
Whether you need a full installation package or site supervision for a third-party system, Hanart's installation engineers can mobilise to your site with documented QC protocols, certified safety systems, and multilingual crews.
Specifications & Standards Referenced
- EN 12811
- GB 51210
- ASTM E1105
- AAMA 501
- ISO 45001
- EN 1808
- GB 19155
- EN 361
Traceability & Sources
- Read the full source article: Aluminum Curtain Wall Installation: Site Management, Quality Control & Safety Protocols — source page
- Project file: 166 Perry Street, New York — Unitized curtain wall for a Manhattan luxury residential tower — panels fabricated in Shanghai and shipped to New York.
- Facade Installation: The Underestimated Stage — related note
- In-House Fabrication: Where Quality Is Physics — related note
- Facade Standards Hub — test methods cited across the library
Have a project with this scope?
Send drawings, get a facade proposal in 24 hours — engineered, fabricated and installed by one contractor, one responsibility.